forked from sinara-hw/assembly
4.0 KiB
4.0 KiB
Build and test firmware
Operating hints and warnings
- 😡 Always use grounding strap during dis/assembly or other cards' physical operation
- 😡 Always power off devices before un/plugging
- 🧐 If needed to power-cycle the crate, wait at least 30 seconds before turning them on
- 🙅 Avoid the boards touching conductive materials - wires, metals. Use at least plastic ESD bags if you need the cards to be put at the desk or any other surface.
- 💁 Be gentle to the EEM ports and any other connectors. Support them when plugging, hold when unplugging
- 🙆 If you need to take the cards out, take them out one-by-one from the end, unplug EEM and cables if you feel high tension
- 🙆 Use dedicated power supplies for each crate, preferably given or equivalent to given by us
- 🙅 Avoid unnecessary inserts and pullouts, especially of MMCX cables
Failure to comply with this voids the warranty.
Kasli standalone
Checklist
- Build firmware (see commands below)
- Flash firmware and settings
- Test hardware with the PSU, which is going to be shipped
- Create a flash-drive with
device_db.pyfile for customers (FAT32)
CLI commands - build and flash
mkdir <variant>
cd <variant>/
nix develop github:m-labs/artiq\?ref=release-7
# master/standalone only
artiq_mkfs -s ip 192.168.1.75 kasli.config
artiq_flash storage -f kasli.config
artiq_ddb_template -o device_db.py <variant>.json
python -m artiq.gateware.targets.kasli_generic <variant>.json
artiq_flash --srcbuild -d artiq_kasli/<variant>/
Kasli-SoC (zynq)
Checklist
- Build firmware (see commands below) for SD card variant
- Copy
results/boot.binto the SD card - Insert SD card to the Kasli-SoC and boot
- Change IP from the default one:
artiq_coremgmt -D 192.168.1.56 config write -s ip 192.168.1.75 - Reboot and check it works on new IP address
- Test hardware with the PSU, which is going to be shipped
- Create a flash-drive with
device_db.pyfile for customers (FAT32)
CLI commands - build and flash
mkdir <variant>
cd <variant>/
nix develop git+https://git.m-labs.hk/m-labs/artiq-zynq\?ref=release-7
artiq_ddb_template -o device_db.py <variant>.json
nix build -L --impure --expr 'let fl = builtins.getFlake "git+https://git.m-labs.hk/m-labs/artiq-zynq?ref=release-7"; in (fl.makeArtiqZynqPackage {target="kasli_soc"; variant="[master, standalone, satellite]"; json=<full path to the json description>;}).kasli_soc-[master, standalone, satellite]-sd'
# copy `results/boot.bin` to the SD card
# insert SD card to the Kasli-SoC and boot
artiq_coremgmt -D 192.168.1.56 config write -s ip 192.168.1.75 # or just place extra/CONFIG.TXT near the boot.bin on SD card
# update firmware (alternative to copy to SD, if ARTIQ already running)
artiq_coremgmt config write -f boot result/boot.bin
# reboot via power supply
Testing (common)
artiq_sinara_tester
Follow artiq_sinara_tester instructions for testing the hardware. For more detailed information,
you can use this book's pages, or if there is no instruction for testing your hardware, please add them to this book.
Known issues
artiq-zynq#197 - some cards (Sampler, Mirny, Zotino and others)resolved (hopefully)
do not work properly with some EEM ports. You might need to connect the card to the other ports until it gets working.
Master-satellite setups
- Change
basein JSON to the respectivemasterorsatellite, add"enable_sata_drtio": trueif needed to the master, removecore_addrin satellites - Build and flash firmware for each crate with JSONs (see instructions above)
- Create composed
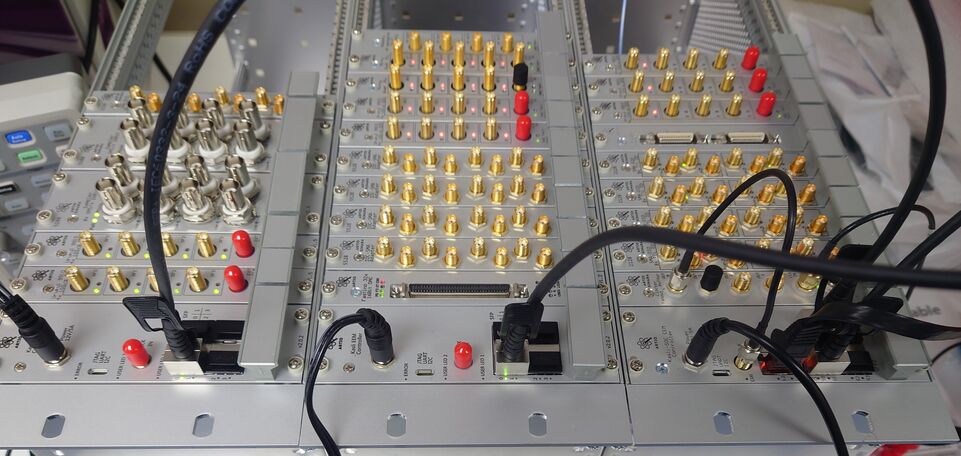
device_db.py: e.g.artiq_ddb_template -o device_db.py -s 1 <satellite1>.json -s 2 <satellite2>.json <master>.json - Connect satellite crates to the master respective to their numbers via the fiber (see example picture)

- Ethernet is needed only for master
- Test hardware as it would be one crate