2.5 KiB
2.5 KiB
Build and test firmware
Kasli standalone
Checklist
- Build firmware (see commands below)
- Flash firmware and settings
- Test hardware
- Create a flash-drive with
device_db.pyfile for customers (FAT32)
CLI commands
mkdir <variant>
cd <variant>/
git clone git@github.com:m-labs/artiq.git
cd artiq/
git checkout origin/release-7
nix develop
artiq_mkfs -s ip 192.168.1.75 kasli.config
artiq_flash storage -f kasli.config
artiq_ddb_template -o device_db.py <variant>.json
python -m artiq.gateware.targets.kasli_generic <variant>.json
artiq_flash --srcbuild -d artiq_kasli/<variant>/
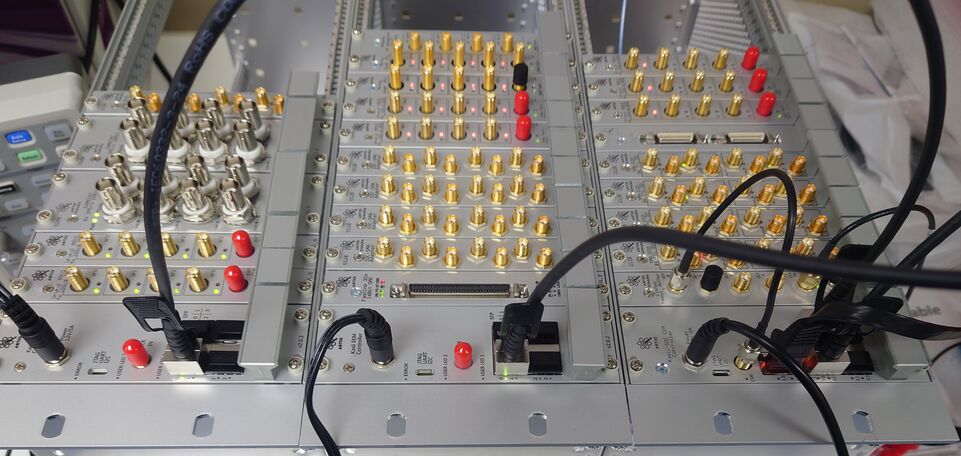
artiq_sinara_tester
Follow artiq_sinara_tester instructions for testing the hardware. For more detailed information,
you can use this book's pages, or if there is no instruction for testing your hardware, please add them to this book.
Kasli-SoC (zynq)
Checklist
- Build firmware (see commands below) for SD card variant
- Copy
results/boot.binto the SD card - Insert SD card to the Kasli-SoC and boot
- Change IP from the default one:
artiq_coremgmt -D 192.168.1.56 config write -s ip 192.168.1.75 - Reboot and check it works on new IP address
- Test hardware
- Create a flash-drive with
device_db.pyfile for customers (FAT32)
CLI commands
mkdir <variant>
cd <variant>/
git clone gitea@git.m-labs.hk:M-Labs/artiq-zynq.git
cd artiq-zynq/
git checkout origin/release-7
nix develop
artiq_ddb_template -o device_db.py <variant>.json
nix build -L --impure --expr 'let fl = builtins.getFlake "git+file://<path to artiq_zynq repo>"; in (fl.makeArtiqZynqPackage {target="kasli_soc"; variant="[master, standalone, satellite]"; json=<path to the json description>;}).kasli_soc-[master, standalone, satellite]-sd'
# copy `results/boot.bin` to the SD card
# insert SD card to the Kasli-SoC and boot
artiq_coremgmt -D 192.168.1.56 config write -s ip 192.168.1.75
# reboot via power supply
artiq_sinara_tester
Master-satellite setups
- Change
basein JSON to the respectivemasterorsatellite, add"enable_sata_drtio": trueif needed to the master, removecore_addrin satellites - Build and flash firmware for each crate with JSONs (see instructions above)
- Create composed
device_db.py:artiq_ddb_template -o device_db.py -s 1 <satellite1>.json -s 2 <satellite2>.json <master>.json - Connect satellite crates to the master respective to their numbers via the fiber (see example picture)
- Ethernet is needed only for master
- Test hardware as it would be one crate